Implement Google Analytics with Tag Manager

1. Sign up for and install Google Tag Manager and create a container within your account.

Install the GTM script on your website. Verify that the script is installed and that the container is loading using the Tag Assistant Chrome extension.

2. Remove any pre-existing Google Analytics installations that are either coded into the theme or implemented via a plugin.

Duplicate tracking issues are very common with sites like WordPress that rely heavily on plugins. Disable any Google Analytics plugins that are active in your CMS. Check the header and body for Google Analytics scripts in your theme files by searching for the text analytics.js. If you find a tracking script, remove it from the page code.

3. In GTM, click on Tags in the side menu and click on New to create a new tag.

4. Select the type of Google Analytics property you want to track - typically either Universal Analytics or GA4 Configuration.

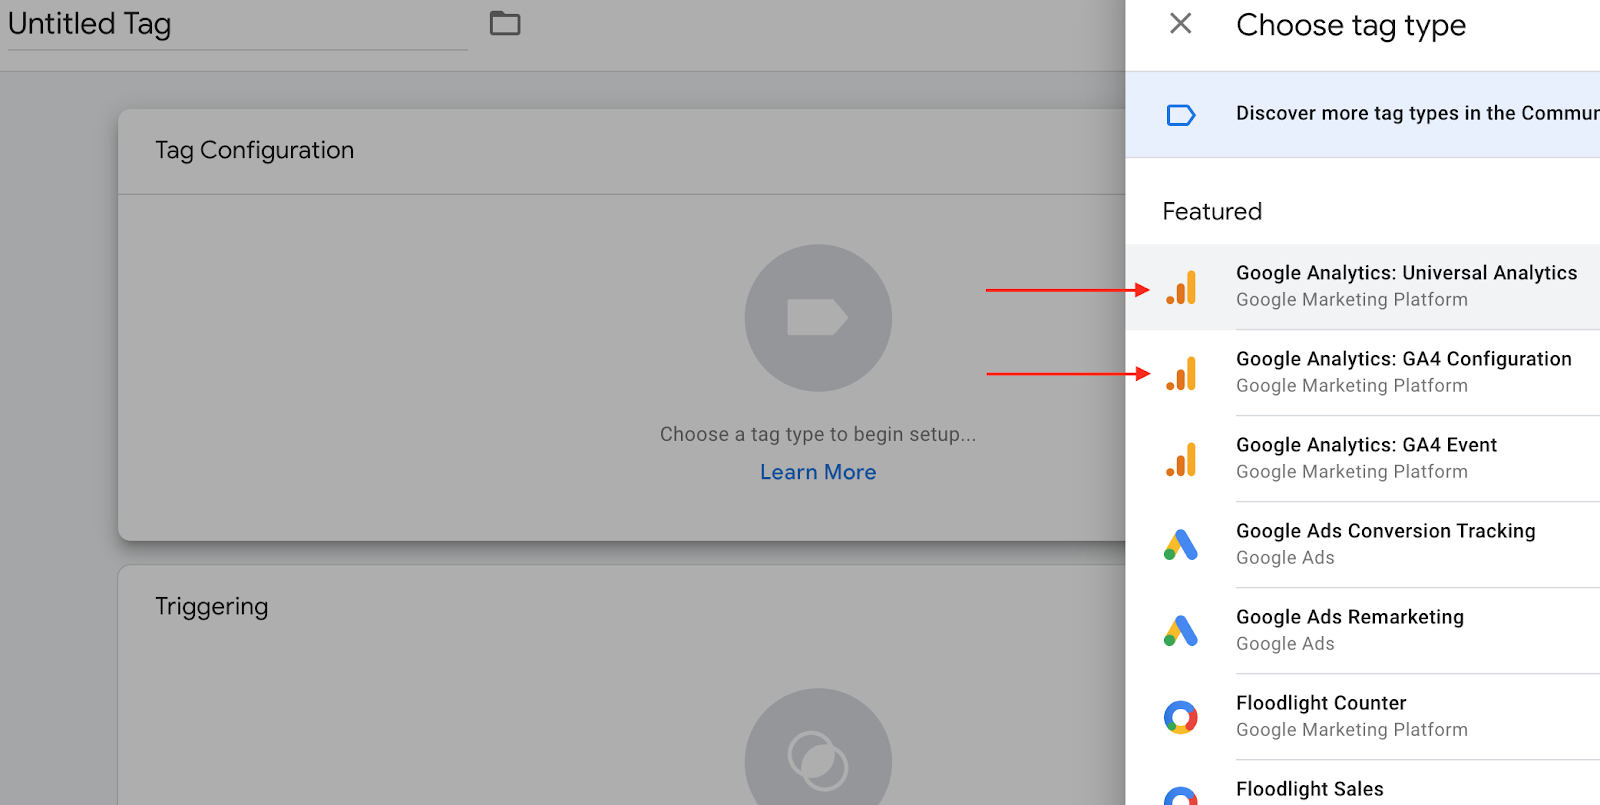
Universal Analytics is suitable for web-focused measurement.  GA4 Configuration is suitable for measuring web and app data.

5. If you're using a UA tag, select New Variable from the Google Analytics Settings drop down list and paste the tracking ID for the property you want to track into the Tracking ID field.

For a UA tag, make sure the Track Type is set to Page View. Give the variable a name like GA Settings Variable and save it.

6. If you're using a GA4 tag, add the Property ID to the Measurement ID field in the tag.

7. Set the trigger for the tag to All Pages.

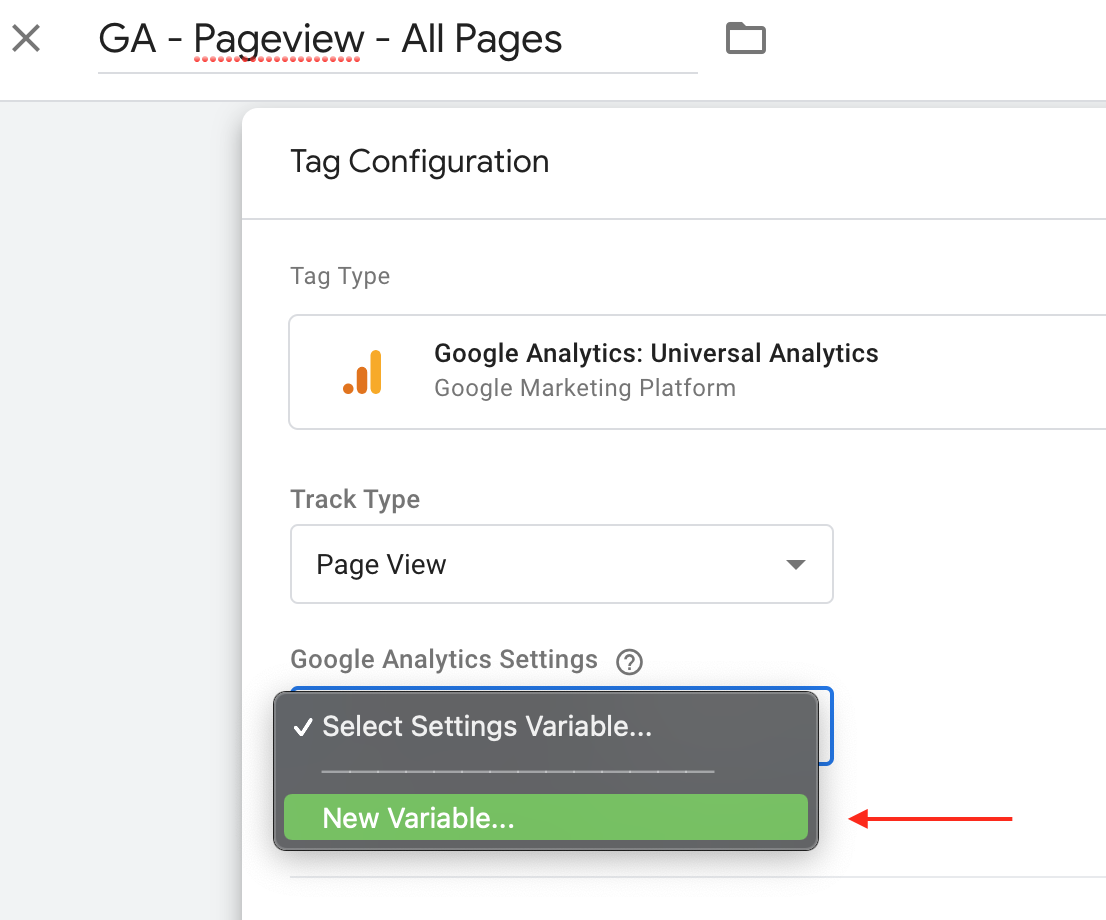
This means the tag will trigger sitewide, on every page of the website that GTM is installed on.

8. Give the tag a name like GA - Page View - All Pages and save it.

9. Click on Submit at the top corner of the page, then Publish to publish the container.

10. In Google Analytics, navigate to Real Time > Overview and monitor the report to check that data is being recorded and you installed the tracking tag correctly.