Create an image sitemap

1. Create a spreadsheet of all pages and posts on your website with images that you want people to find via search engines.

Have one column for Page URL and one for Image URL. Do not include URLs that are blocked by robots.txt file or are password-protected.

2. Paste in the URL of each image in the column beside its page or post URL.

You might need several rows for each page or post if you have multiple images per page.

3. Open a text file editor like Notepad on your computer and start a new file.

4. Code all your post, page, and image URLs in XML tags, with the image URLs listed within the tags for the page or post they are displayed on.

Your XML code should have the following format: https://example.com/page1.html https://example.com/image1.png https://example.com/image2.png Start with a tag for each page. Add the page URL within tags. For example, https://example.com/page1.html. For each image, add tags enclosing the image URL within tags. For example, https://example.com/image1.png. You can only have up to 1,000 tags in a tag. For photography websites and similar, you can add image license URL and geolocation with and tags respectively.

5. Save the file as image_sitemap.xml.

Each sitemap should not have more than 50,000 URLs or exceed 50 MB. If your index file exceeds one of those restrictions, create more than one sitemap, then link to all your image sitemap files in a general sitemap index file called sitemap_index.xml which links to all the sitemaps on your website like this: https://example.com/-sitemap1.xml https://example.com/image-sitemap1.xml

6. Update your sitemap when you publish new images that you want search engine crawlers to index.

7. Alternatively, download the Screaming Frog SEO Spider, install it on your computer, and run a crawl of your website.

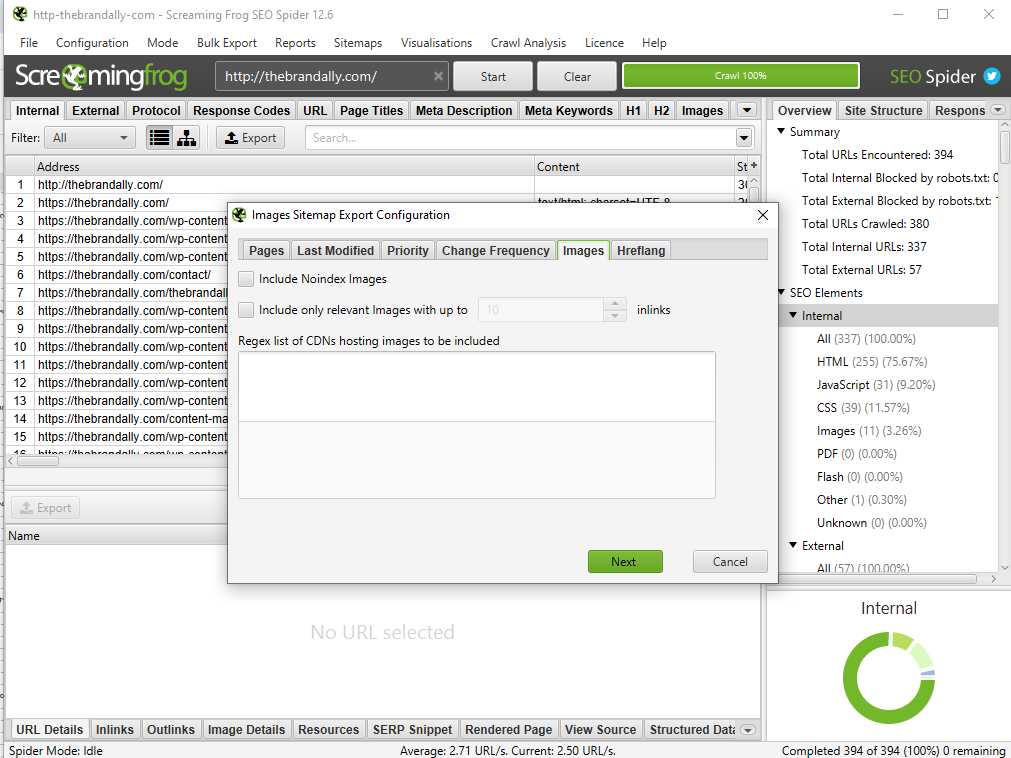
Click on Sitemaps to generate an image XML sitemap. Uncheck all the checkboxes in the other tabs, click Next and save the sitemap as image_sitemap.xml on your computer.