Open Graph tags are pieces of metadata that tell social networks how to display your content when people share it.
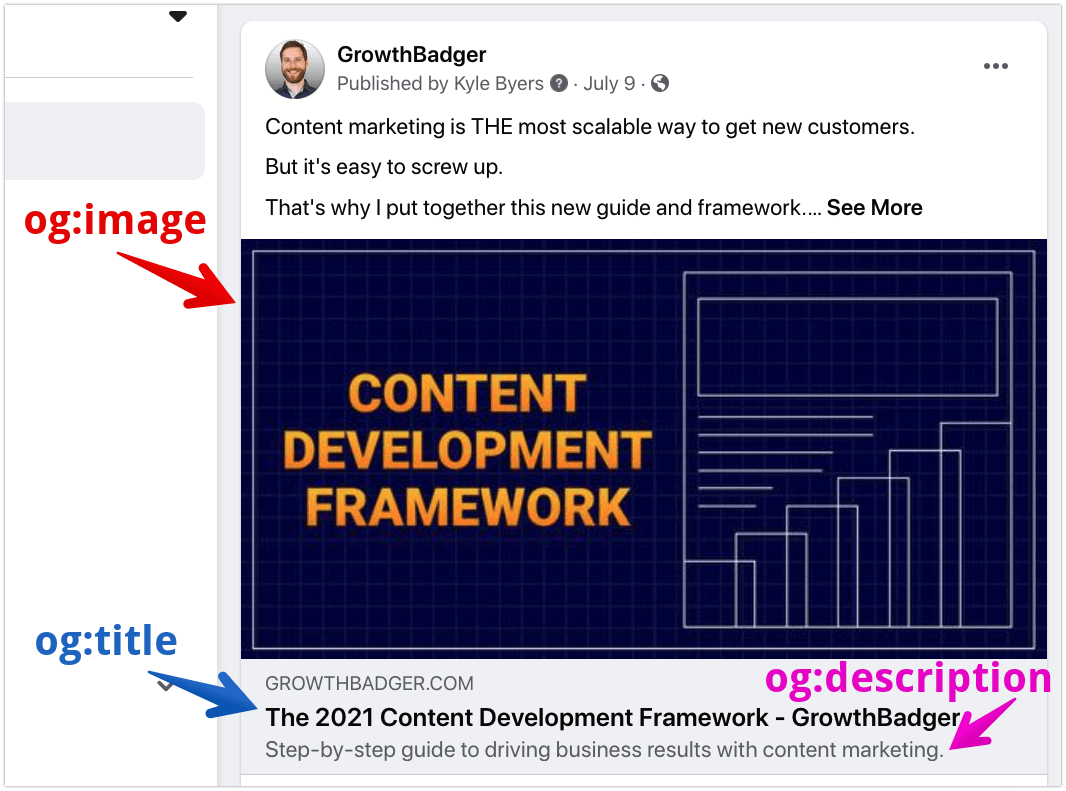
For example, here’s how different Open Graph tags display in a Facebook post when someone shares my content development guide:

The three basic Open Graph tags represented in the screenshot above are:
The og:title tag, which controls the title that gets shared. You can just use the regular H1 title of your content, or the SEO meta title tag. Sometimes I do that myself. But to maximize your social shares, it’s a good idea to write a more shareable title for the Open Graph title tag. For example, by creating a curiosity gap.
The og:description tag, which is a short description of the content. This should generally only be only a sentence or two so it won’t get cut off.
And the og:image tag. This points to the URL of the image you want to appear when someone shares the page. (By the way, 1200×630 is a great image size.)
There’s also og:url, which isn’t visible above but is also important. It’s just the URL of your webpage.
So those are the basics.
But there are many other Open Graph tags you can also use. Like og:type, which specifies what kind of media your content is. Or og:video, which is like og:image but for videos.
Now, how do you actually add these tags?
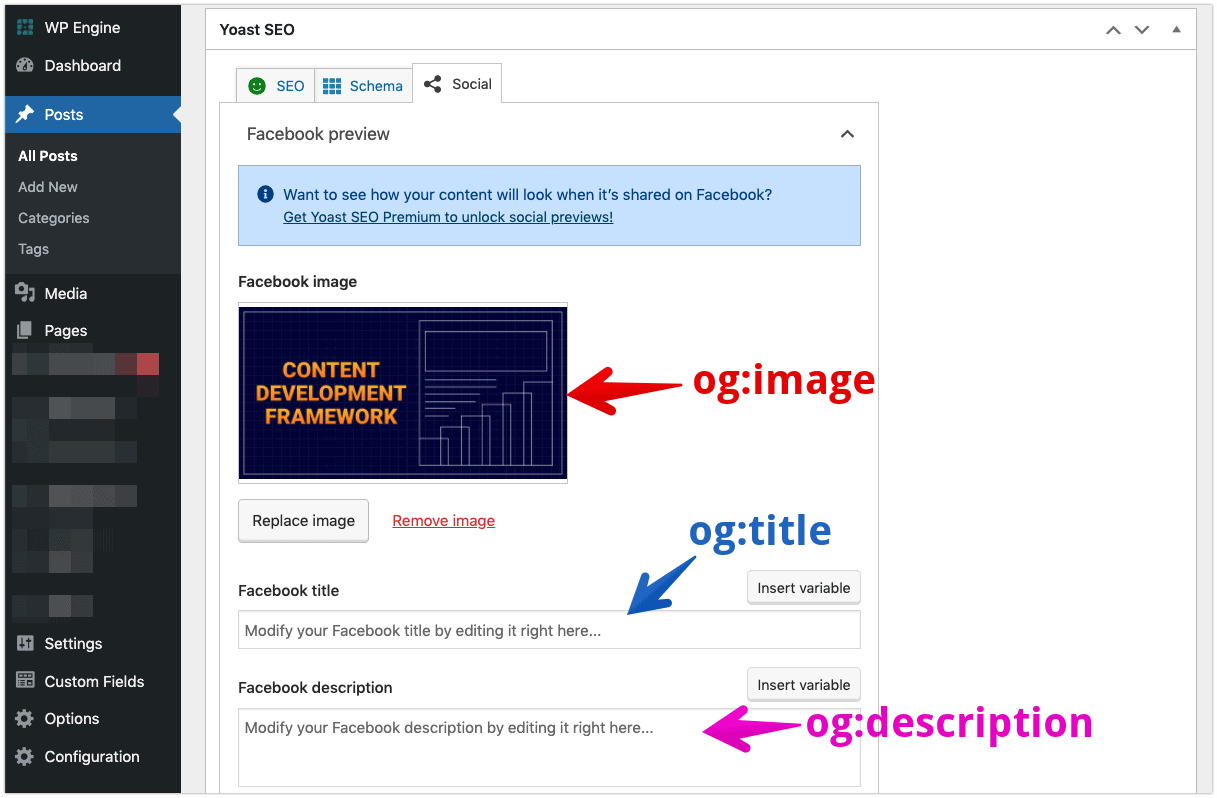
If you use WordPress, plugins like Rank Math and Yoast make it easy to set your Open Graph tags for each page.

While other content management systems (like Ghost and Medium) automatically generate Open Graph tags for your content.
You can also add OG tags manually in your page’s HTML, like this:

